Sharpening Guide: Sharpening Japanese Knives
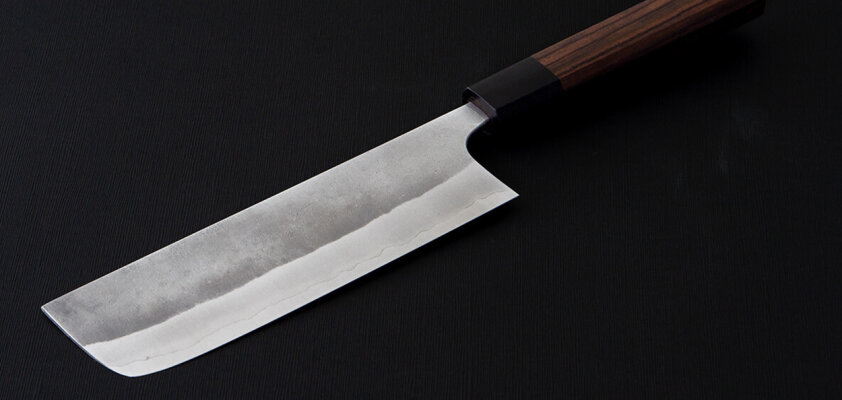
How do I sharpen a knife correctly?
We have revised the instructions and added two videos for your enjoyment. Have a great time with the post!
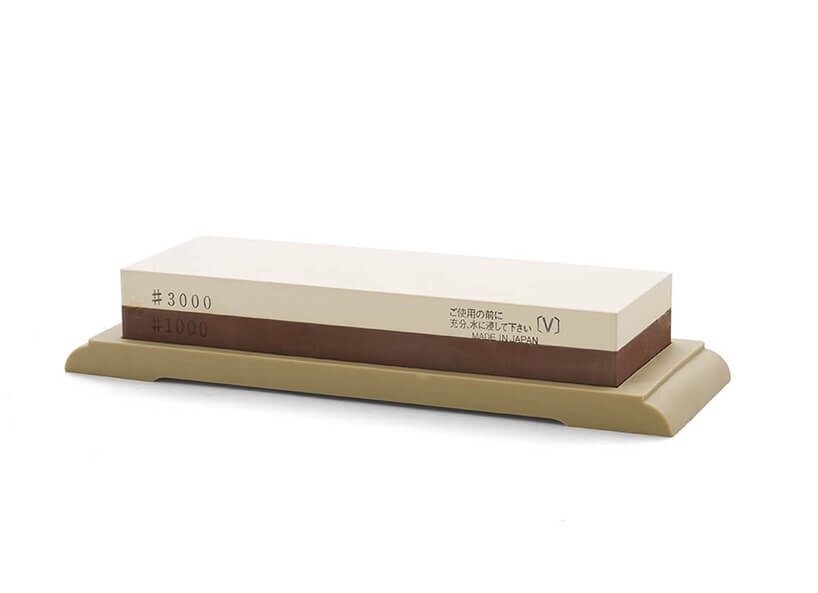
If the knife hasn't been sharpened for a long time and is very dull, a sharpening stone with a grit of under 800, depending on the knife's condition, is good for the initial sharpening. For the actual sharpening, use a sharpening stone with a grit between 800 and about 2000, depending on your patience and the desired result. If you want to give your knife a truly fine finish with honing and perfect edge, finish with a honing stone. The grit of honing stones ranges from over 2000 to 10000, with the effect above 6000 being more of a polishing nature.
Caution: During sharpening, some slurry forms on the surface of the sharpening stone. This contains the sharpening particles and should only be removed at the end!
Step 1 - The preparation
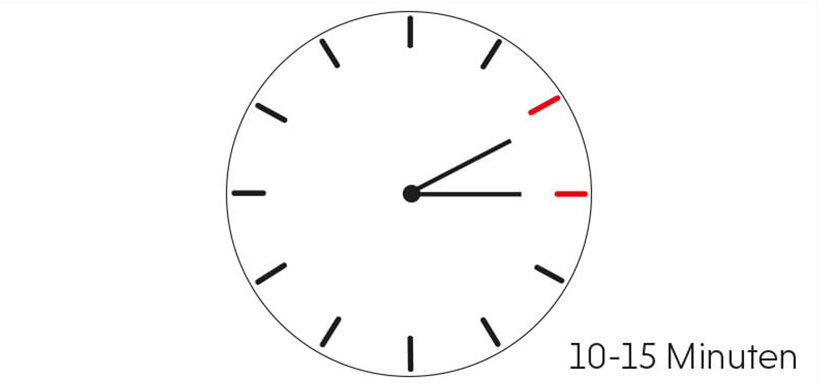
Before you begin, soak the sharpening stone in water for 10-15 minutes. Japanese water sharpening stones should properly absorb water before use. Once no more air bubbles rise, wait for an additional 1 minute, and the stone is ideally saturated with water. Even during sharpening, the stone should always be wet, as this prevents overheating and promotes the formation of the sharpening slurry, which enhances the results.
Step 2 - The correct posture when sanding
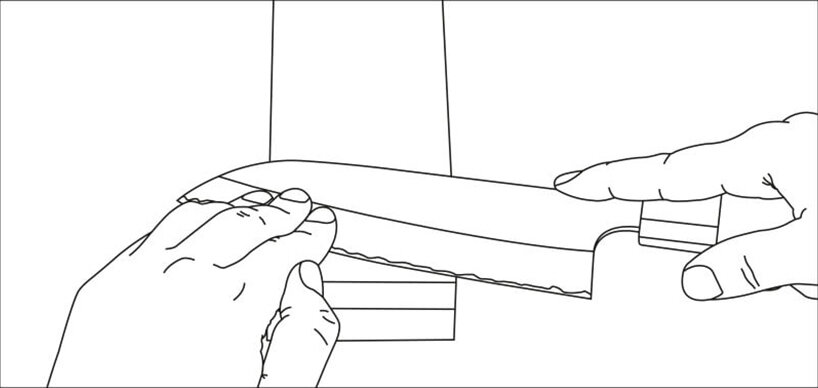
Before starting the sharpening process, place the sharpening stone on a sharpening stone holder or a rubber base to prevent slipping. A dishcloth or a damp towel often works as well, but keep in mind that sharpening creates a slurry. Take the knife in your right hand and place it diagonally on the sharpening stone. Secure the blade with three fingers of the left hand. You can also place the index finger of the right hand on the back of the blade for additional control and a secure feeling during the sharpening process.
Step 3 - The right angle leads to a good result
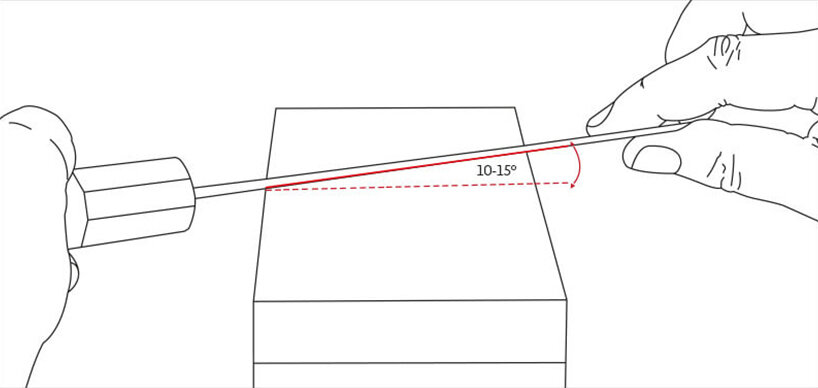
Position the blade at an angle of 10 - 15° on the sharpening stone and carefully move the blade from back to front (as shown in the image from step 2). Approximately two coins should fit between the back of the knife and the sharpening stone. It is important to keep the angle consistently! Also, make sure that you apply pressure to the blade only during the movement and avoid exerting too much pressure. For beginners, be cautious: Too fast a movement can quickly lead to a change in the angle, resulting in imprecise cutting geometry and negatively affecting the sharpening result. Note: For left-handed knives, the sharpening ratio should be applied in reverse.
Step 4 - Step by step
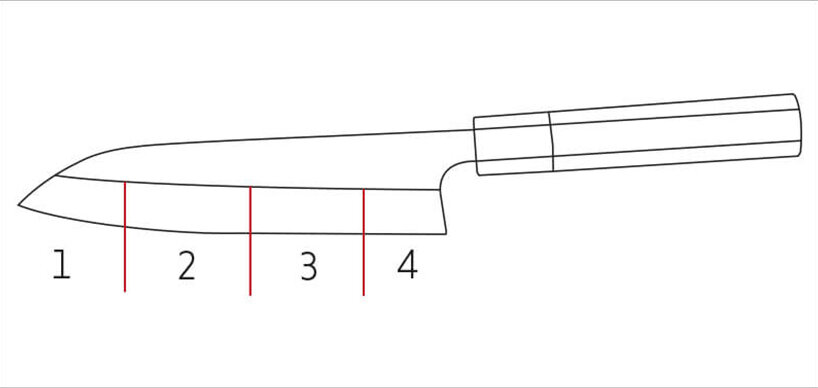
Also, make sure not to sharpen the entire blade of the knife at the same time. It's best to mentally divide the knife into approximately 4 sections and sharpen them one after the other.
Step 5 - Changing the blade side
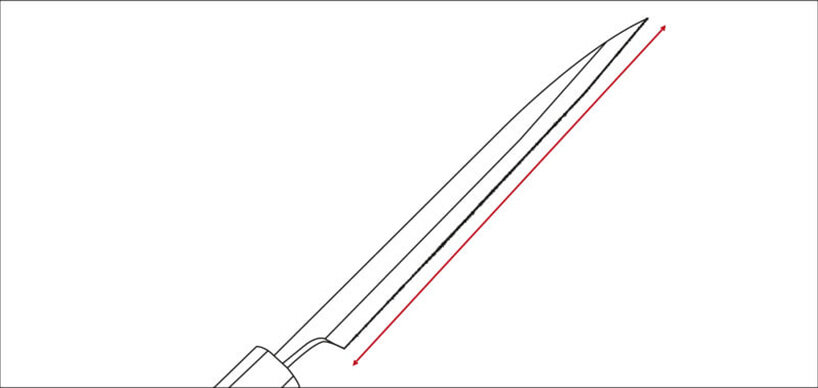
Grind one side of the knife until a slight burr forms on the opposite side, which may be difficult to see but can be felt. Then, switch to the other side of the blade. CAUTION: When checking for the presence of a burr, always run the fingertip lightly across the edge away from the blade with gentle pressure.
Step 6 - Grinding the tip
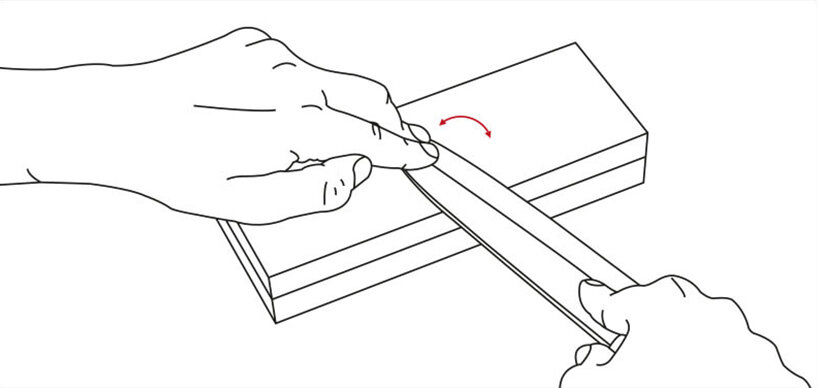
To sharpen the tip of the blade, place the Japanese chef's knife on the sharpening stone again at an angle of 10 - 15°. You will notice that the tip of the blade does not directly touch the sharpening stone. Lift the knife slightly higher until only the tip makes contact with the sharpening stone. Place 2 to 3 fingers on the blade again and move the knife forward and backward in a partial circular motion on the sharpening stone.
Step 7 - Sanding with less pressure
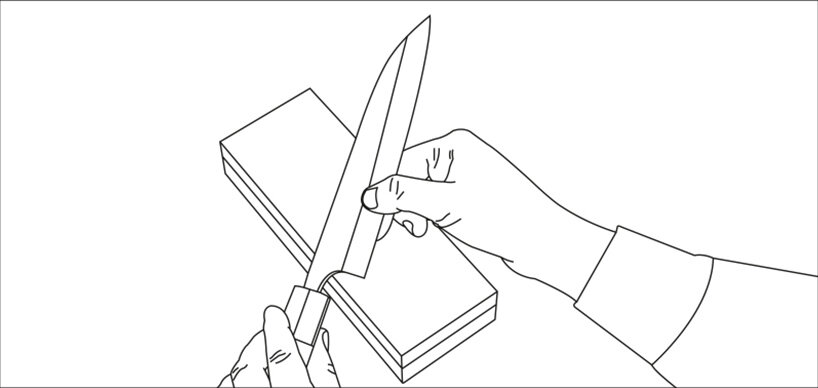
Repeat the sharpening process. The other side of the blade should be sharpened very gently, with progressively less pressure and for shorter durations. Continue until no burr is felt. Occasionally run your finger gently over the blade to ensure that no burr remains. You will notice that a kind of sharpening slurry quickly forms on the sharpening stone due to abrasion. This is also referred to as 'slurrying' of the stone, giving it the properties of a finer-grit sharpening stone. This can be desired in the sharpening process, as, at a later stage, a finer grit contributes to a better sharpening result. However, it does not replace the fine-grit polishing stone for the finishing touches.
Step 8 - The finish

For the finishing touches, switch (if available) to a polishing stone with a grit of 2000 or higher. Depending on the desired result and the sharpening potential of the knife, you can optimize sharpness with sharpening stones ranging from 2000 to 6000 through an additional sharpening process. Finally, you should hone the knife. To do this, place the chef's knife longitudinally on the sharpening stone and hone in the direction of the cutting edge a few times on both sides. You can again use the fingertip to gently check if any burr is still present.
Step 9 - The knife is ready for use
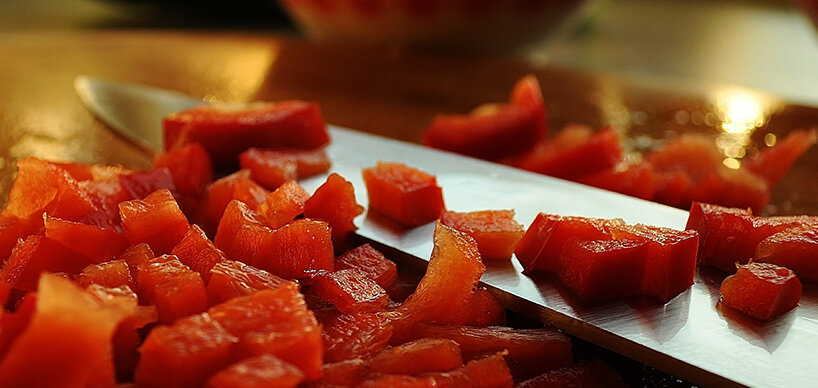
To make the knife ready for use, rinse it with lukewarm water after finishing the sharpening process and dry it thoroughly. The knife is now ready for the tomato sharpness test. For this test, grip the handle of the knife from below, place the knife on the tomato, and draw the chef's knife towards you without applying pressure. If the knife effortlessly glides through the tomato, it is properly sharp.
For corrosion protection, you can apply some knife oil (e.g., Tsubaki knife oil) to carbon steel blades.
Sanding instructions as a video
In the following two YouTube videos, you can see in great detail step by step how a knife is sharpened on one of our water stones in Japan. The videos differ in the sharpening technique.
Technique 1: The knife is sharpened in partial areas, as described above.
Technique 2: The entire knife blade is sharpened simultaneously in this live event:









-from-the-yakiyaki-grill-pan.jpg)
